Take Home kits are free and will be available for pick up at the MacNider Arts Festival on Saturday, June 14 between 9 am-5 pm!
– Supplies are limited.
– Not intended for children under age 5.
– One per child. Child must be present.
– Adult supervision required, small parts included.
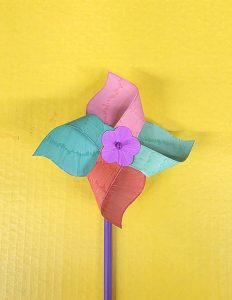
DIY Pinwheels:
Materials – Markers, square pinwheel paper, small paper flower or circle, large colored straw, small colored plug and pinwheel mechanism
- Color the paper pinwheel and flower or circle on the front and back of the paper as desired.
- Insert the colored plug into the center hole of the paper pinwheel.
- Fold the pinwheel corners towards the center hole of the paper pinwheel.
- Insert the plug into each of the holes in the pinwheels.
- Insert the paper flower or circle onto the colored plug.
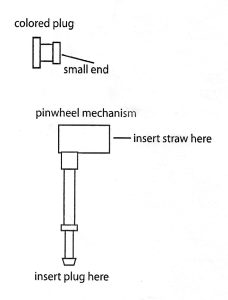
- Attach the plug to the pinwheel mechanism as shown.
- Slide the large colored plastic straw into the large end of the pinwheel mechanism.
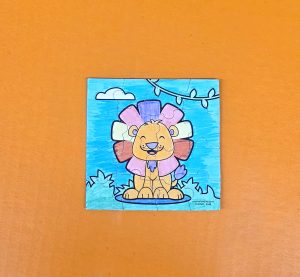
DIY Puzzle:
Materials – Markers and white puzzle
- Color the puzzle with the markers as desired.
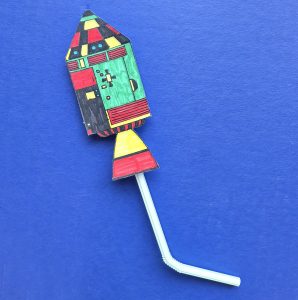
Launching rockets:
Materials – Markers, paper rocket, bendy straw and black paper tube (Not included- scissors and tape)
- Color the rocket with the markers as desired.
- Cut out the paper rocket.
- Tape the black paper tube on the back of the rocket with the hole facing down.
- Insert the long end of the straw into the black paper tube.
- Blow through the straw and watch the rocket fly.
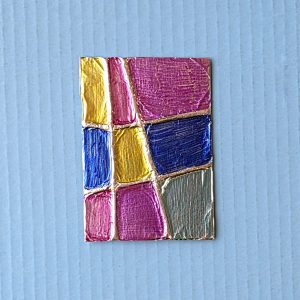
Tinfoil Magnets:
Materials – Markers, yarn, tinfoil, cardboard rectangle, magnet and glue stick (Not included- tape)
- Place the magnet with glue dots on the back.
- Tape one end of the yarn to the back of the rectangle cardboard.
- Wrap the yarn around the cardboard until no more yarn is left over, then tape other end to the back.
- Use the glue stick to glue the dull side of the tinfoil to the front of the cardboard.
- Press the tinfoil down around the yarn.
- Fold the remaining tinfoil around the cardboard and tape to the back.
- Color the tinfoil with the markers in the sections between the yarn.